The Ultimate Grout Mixing Guide for Perfect Tile Joints
Read our comprehensive grout mixing guide to learn the best techniques for preparing tile grout. Whether you are searching for a groutmixing guide or just need a quick refresher, discovering the right ratios, tools, and expert tips will ensure perfect results.
Table of Contents
- Essential Tools and Material Preparation
- Measuring and Combining Ingredients
- The Slaking and Remixing Process
- Achieving the Right Consistency
- Your Most Common Questions
- Comparing Preparation Methods
- Practical Tips for Flawless Results
- Before You Go
Key Takeaway

A grout mixing guide is a structured instructional resource detailing the precise methods for combining powder and water to create tile joint filler. This process ensures proper adhesion, consistent color, and long-lasting durability for ceramic and porcelain installations.
Grout Mixing in Context
- Recommended slake time before remixing is 10 minutes (Rubi Blog USA, 2025)[1].
- Standard mixing time ranges from 3-5 minutes (YouTube, 2025)[2].
- Wall applications require a bread dough-like consistency (Rubi Blog USA, 2025)[1].
- Floor installations need a thicker, peanut butter-like consistency (Rubi Blog USA, 2025)[1].
Grout mixing principles form the foundation of any successful tile installation project. Whether you are renovating a bathroom or laying a new kitchen backsplash, understanding how to properly blend your materials prevents cracking, shrinking, and discoloration. Many DIY enthusiasts and professional contractors alike struggle with achieving the perfect consistency, often resulting in weak joints that fail over time. By following a systematic approach, you can eliminate common errors and ensure a flawless finish. This article explores the essential steps, from measuring your ingredients to allowing the mixture to rest. We will cover the necessary equipment, ideal environmental conditions, and the specific techniques required for different types of tile joints. Proper preparation ultimately saves time and money during the cleanup phase, making your renovation much smoother.
Essential Tools and Material Preparation
Preparing your workspace and gathering the correct equipment is the critical first step before combining any ingredients. A successful grout preparation relies heavily on having clean, dedicated tools that prevent cross-contamination with old adhesives or dried cement. You will need a sturdy plastic bucket, a low-speed power drill, and a specialized mixing paddle designed to fold the material rather than whip air into it.
Selecting Tools for Your Grout Mixing
Before opening any bags, ensure your workspace is free of excessive dust and debris. Measure your clean water using a dedicated measuring container to guarantee accuracy. When exploring various industrial mixing equipment categories, you will find that specialized paddles significantly reduce the amount of trapped air, which can cause pinholes in your finished joints. Always wipe down the inside of your bucket with a damp sponge before starting, as dry plastic can absorb moisture from your mixture and alter the final chemical balance. Having all your tools staged and ready ensures a continuous workflow once the chemical reaction begins.
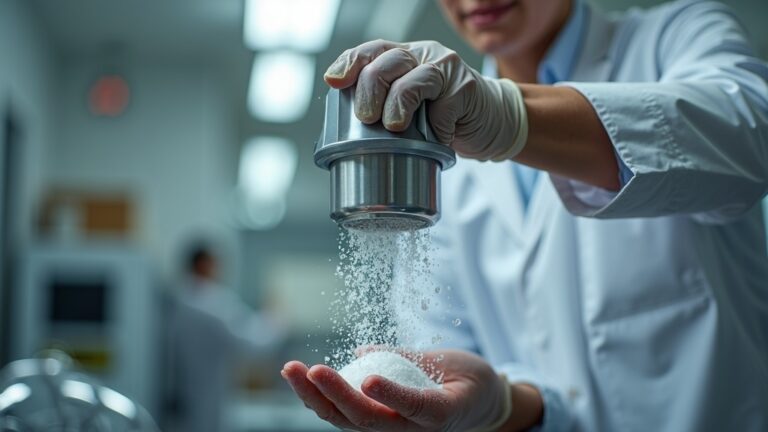
Measuring and Combining Ingredients
Accurate measurement of water and powder dictates the structural integrity and final appearance of your tile joints. Following precise grout mixing instructions and a reliable grout blending tutorial ensures that the chemical polymers hydrate correctly, preventing future cracking or powdering. Most manufacturers recommend a specific water-to-powder ratio, such as a 3:1 powder to water ratio for standard cementitious products (YouTube, 2025)[2].
Always add the liquid to the bucket before introducing the dry components. As one expert notes, “Start by putting an appropriate amount of water in your bucket first” (Rubi Blog USA, 2025)[1]. This prevents dry clumps from sticking to the bottom corners. Gradually sprinkle the powder into the water while the drill runs at a low speed. According to industry professionals, “Start with the water-to-powder ratio recommended on your grout packaging. Use the MudMixer’s dial to fine-tune until your mix reaches the right thickness” (MudMixer, 2025)[3]. Maintain a steady, slow pace to avoid creating a dusty mess and to ensure every particle is fully coated and integrated into the slurry.
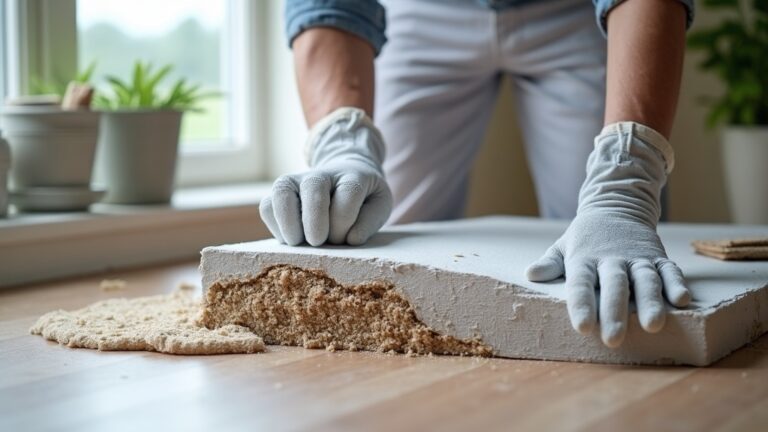
The Slaking and Remixing Process
Allowing the blended material to rest, known as slaking, is a non-negotiable phase that activates the chemical polymers within the mixture. Skipping this step is a primary cause of joint failure and color inconsistency in DIY projects. Once the initial blending is complete, the mixture must sit undisturbed to allow the dry particles to fully absorb the moisture and expand.
The standard recommendation is to let the batch rest for 10 minutes (Rubi Blog USA, 2025)[1]. During this period, you can clean your tools or prepare the tile surface. As highlighted by installation experts, “Once you’re pleased with the consistency, let the grout mixture sit, or “slake,” for about 10 minutes” (Rubi Blog USA, 2025)[1]. After the rest period, remix the batch for 1-2 minutes (YouTube, 2025)[2] without adding any extra water. This final agitation breaks up any remaining stiff pockets and brings the material to its final working state. Understanding these chemical hydration processes is just as important as learning historic masonry and tile conservation when working on delicate or heritage renovations.
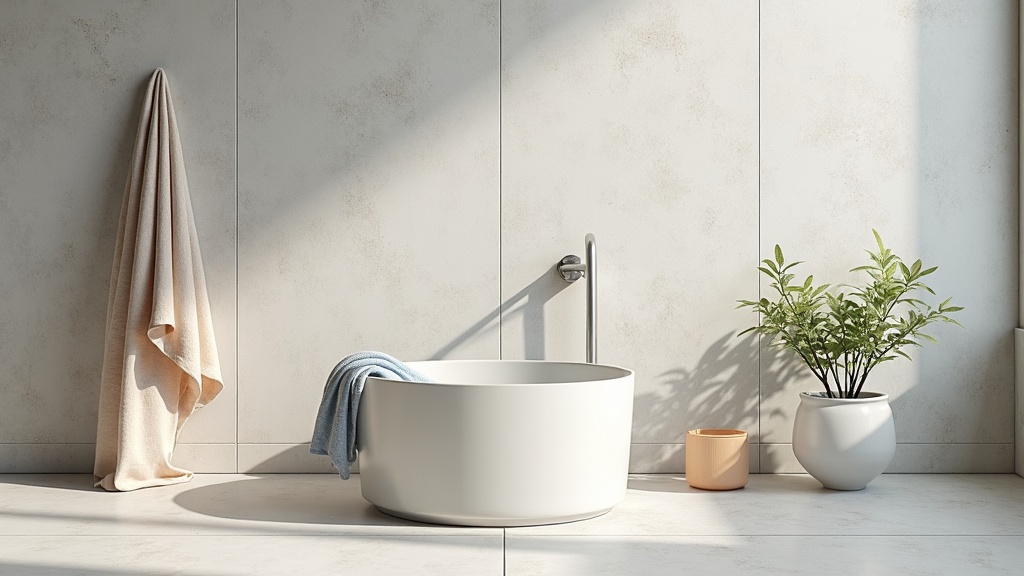
Achieving the Right Consistency for Different Applications
The ideal thickness of your joint filler varies significantly depending on whether you are working on vertical or horizontal surfaces. A reliable grout consistency guide will always differentiate between wall and floor requirements to prevent sagging or cracking. For vertical installations, the material should hold a bread dough-like consistency (Rubi Blog USA, 2025)[1] so it stays firmly packed into the joints without sliding down the face of the tiles.
Conversely, horizontal surfaces require a stiffer blend that achieves a peanut butter-like consistency (Rubi Blog USA, 2025)[1] to withstand foot traffic and prevent shrinking as it cures. If your tile filler preparation results in a mixture that is too stiff, you can gently fold in a few drops of water during the final remix. If it is too loose, sprinkle in a small amount of dry powder. Most standard cementitious blends offer a working time of 45 minutes (YouTube, 2025)[2] before they begin to set in the bucket. Reviewing various colloidal mixer sample applications can provide further insights into maintaining uniform viscosity across large batches.
Your Most Common Questions
Can I add more water if the mixture becomes too thick during application?
Adding water after the initial slaking and remixing phase is strongly discouraged. Once the chemical hydration process has begun, introducing extra liquid dilutes the polymers and weakens the structural integrity of the cured joint. This practice often leads to powdery, fragile grout lines that crack easily under stress. If your batch becomes too stiff to work with during the application window, it has likely exceeded its usable pot life. The best practice is to discard the stiffened material and mix a fresh, smaller batch using the correct initial measurements.
What happens if I skip the slaking period and apply the material immediately?
Bypassing the resting period prevents the dry polymers and cementitious particles from fully absorbing the water. This incomplete hydration results in a weak, crumbly texture that lacks proper adhesion to the tile edges. Furthermore, skipping this step often causes severe color inconsistency, as the pigments fail to disperse evenly throughout the batch. You may also notice pinholes and air bubbles trapped in the joints, as the slaking process naturally allows entrapped air to escape to the surface. Always allow the full resting time for a durable, uniform finish.
How do I calculate the correct amount of powder needed for a partial bucket?
Mixing partial units requires strict adherence to the manufacturer’s specified weight ratios rather than relying on visual volume estimates. You must use a digital scale to weigh both the dry powder and the water precisely according to the product’s technical documentation. For instance, Mapei emphasizes following product-specific powder-to-water ratios outlined in their technical guideline document (Mapei, 2025)[4]. Never simply pour a fraction of the bag and guess the water amount, as this will inevitably alter the chemical balance and compromise the final cure.
Is it better to mix by hand or use a power drill with a paddle?
While hand mixing is acceptable for very small touch-up jobs or non-sanded epoxy blends, a low-speed power drill equipped with a specialized paddle is vastly superior for standard cementitious products. A mechanical drill ensures a thorough, uniform blend that completely eliminates dry pockets and clumps, which are nearly impossible to avoid when stirring by hand. The mechanical action also properly shears the particles to activate the polymers efficiently. Always keep the drill speed below 300 RPM to prevent whipping excess air into the slurry, which causes pinholes.
Comparing Preparation Methods
Selecting the right blending approach depends on the scale of your project and the specific materials you are using. Evaluating different techniques helps contractors optimize their workflow and ensure consistent results across various job sites.
| Method | Best For | Key Advantage |
|---|---|---|
| Hand Mixing | Small repairs, epoxy grouts | Prevents air entrapment in sensitive resins |
| Power Drill | Standard cementitious batches | Fast, uniform blending for everyday grout mixing tasks |
| Automated Mixer | Large commercial installations | Continuous, high-volume output with exact ratios |
Practical Tips for Flawless Results
Mastering the preparation process requires attention to detail and a few professional tricks that elevate the final outcome. Environmental factors and tool maintenance play a massive role in how the material cures and adheres to your tiles.
- Always use cold, clean water in hot climates to extend your working time and prevent the mixture from flashing or setting too quickly in the bucket.
- Wipe the edges of your mixing bucket with a wet sponge immediately after pouring to prevent dried crusts from falling into your next batch and creating hard lumps.
- Never use a high-speed drill, as excessive RPMs whip microscopic air bubbles into the slurry, resulting in a porous, weakened joint structure.
- Keep your dry bags stored in a climate-controlled, low-humidity environment to prevent the powder from absorbing ambient moisture and pre-hydrating before use.
By integrating these habits into your routine, you ensure that every batch performs exactly as the manufacturer intended, resulting in beautiful, long-lasting tile installations.
Before You Go
Mastering the techniques outlined in this grout mixing guide transforms a frustrating chore into a predictable, professional process. By respecting the chemical requirements of slaking, measuring accurately, and choosing the right consistency for your specific surfaces, you guarantee durable and visually appealing tile joints. Proper preparation is the true secret to a flawless finish that withstands the test of time. For more insights on advanced blending equipment and material handling, explore the extensive resources and product details available on colloidalmixers.com today.
Further Reading
- How to Mix Grout Perfectly Every Time. Rubi Blog USA.
https://www.rubi.com/us/blog/how-to-mix-grout/ - How to Mix Mapei Grout for Tile — What Ratio to Use? YouTube.
https://www.youtube.com/watch?v=DIkDaGq7-Bw - How to Mix Grout Like a Pro: Step-by-Step Guide. MudMixer.
https://mudmixer.com/blogs/news/how-to-mix-grout-like-a-pro - Mixing Partial Units of Grout. Mapei.
https://cdnmedia.mapei.com/docs/librariesprovider10/line-technical-documentation-documents/mixing-partial-units-of-grout.pdf?sfvrsn=1490b478_4
For more about Groutmixing guide, see Groutmixing Guide.