The Ultimate Grout Mixing Guide for Tile Joints
Discover the ultimate grout mixing guide for perfect tile installations. Learn powder-to-water ratios, slaking times, and pro techniques for flawless results.
Table of Contents
- Key Takeaway
- Grout Mixing in Context
- Introduction
- Essential Tools for Grout Mixing
- Mastering the Powder-to-Water Ratio
- The Mixing and Slaking Process
- Application and Curing Best Practices
- Important Questions About Grout Mixing
- Comparing Blending Methods
- Practical Tips for Success
- Key Takeaways
- Learn More
Key Takeaway

Grout Mixing in Context
- MAPEI Keracolor U uses a 3:1 powder-to-liquid ratio by volume (MAPEI, 2024)[1].
- MAPEI Keracolor S requires a 4:1 powder-to-liquid ratio by volume (MAPEI, 2024)[1].
- Rubi recommends a 10-minute slaking time before final remixing (Rubi, 2024)[2].
- Bunnings notes that mixed material begins to set after 15 minutes (Bunnings, 2024)[3].
Introduction
Grout mixing principles form the foundation of any successful tile installation project. Whether you are laying ceramic tiles in a bathroom or porcelain tiles on a kitchen floor, the way you blend your materials dictates the longevity and appearance of the final result. Many DIY enthusiasts searching for a quick groutmixing guide overlook the chemical reactions that occur when dry powder meets water. This oversight leads to weak joints, crumbling textures, or unsightly efflorescence. By following a structured grout mixing guide, you can avoid these common pitfalls and achieve a flawless finish. This article explores the essential techniques, from measuring precise ratios to understanding the critical slaking period. We will cover the necessary tools, examine different material types, and provide actionable advice to elevate your tile grout preparation skills. Read on to master the art of creating the perfect consistency for your next renovation.
Essential Tools for Grout Mixing
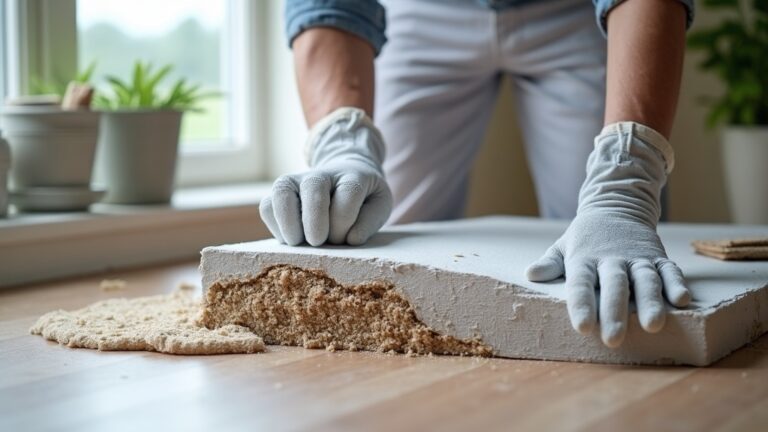
The foundation of any successful tile grout preparation begins with gathering the correct equipment and understanding your specific material requirements. Before opening any bags, ensure you have a clean bucket, a sturdy margin trowel, and a reliable drill mixer equipped with a proper paddle attachment. Using the right tools prevents lumps and ensures a uniform blend, which is vital when working with sensitive materials like natural stone.
Water quality plays a surprisingly significant role in the final outcome. As noted by industry professionals, “It’s always best to use soft or distilled water, as hard water can leave behind an unappealing white residue” (Rubi Blog USA, 2024)[2]. This white residue, known as efflorescence, occurs when soluble salts migrate to the surface during the curing time.
When selecting your base material, consider the joint width of your project. Unsanded grout is ideal for narrow joints, typically less than one-eighth of an inch, while sanded grout provides structural stability for wider gaps. Epoxy grout offers superior stain resistance but requires a much faster application process. For those exploring advanced machinery options, reviewing the uncategorized equipment category can provide insights into specialized blending tools that streamline large-scale jobs. Proper tool selection ultimately dictates how smoothly the application phase will proceed.
Mastering the Powder-to-Water Ratio
Achieving the correct powder-to-water ratio is the most critical technical step in any grout blending tutorial. Guessing the measurements often leads to a mixture that is either too runny or too dry, both of which compromise the integrity of the tile installation. Manufacturers provide strict guidelines to ensure the chemical additives activate correctly.
Technical documentation emphasizes precision, stating, “Be sure to adhere to the powder-to-water ratios given below, and follow all mixing instructions on the Technical Data Sheet for the product being used” (MAPEI Technical Documentation, 2024)[1]. When mixing partial bags, it is crucial to use the exact same measuring device for both the powder and the liquid to maintain accuracy. For instance, specific products require a strict three-to-one or four-to-one ratio by volume.
The target texture is universally recognized among professionals. According to equipment manufacturers, “For most tile grout applications, aim for a peanut butter-like texture – thick but spreadable” (MudMixer, 2024)[4]. If the mixture is too thin, it will shrink and crack as it dries. If it is too thick, it will fail to pack tightly into the joints, leaving voids that trap moisture and dirt. Consulting the Tile Council of North America installation standards provides further clarity on acceptable tolerances for various material types.
The Mixing and Slaking Process
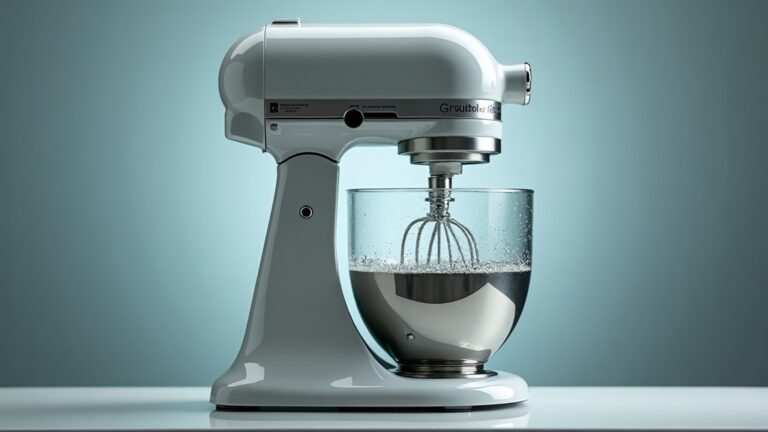
The physical blending and subsequent resting phases dictate the chemical strength of the final cured joint. Begin by adding the liquid to the bucket before introducing the dry powder. This sequence prevents dry clumps from sticking to the bottom of the container. Use your drill mixer on a low speed to combine the ingredients, scraping the sides and bottom frequently with your margin trowel.
Once the ingredients are fully integrated, the mixture must rest. This resting phase, known as slaking time, allows the polymers and Portland cement to fully hydrate. Skipping this step results in a weak bond and inconsistent color. After the initial rest, remix the batch briefly without adding any extra liquid. This final stir activates the chemical modifiers and brings the batch to its final working consistency.
Timing is critical during this phase. You must work efficiently because the chemical reaction cannot be paused. Industry guidelines warn that the material will begin to set rapidly once mixed, often becoming unworkable within fifteen minutes (Bunnings, 2024)[3]. Once the material begins to harden in the bucket, it cannot be rehydrated or reused. Attempting to add water to a setting batch will ruin the structural integrity and lead to joint failure. Therefore, mixing smaller, manageable batches is always the safest approach for mortar and grout mixing tasks.
Application and Curing Best Practices
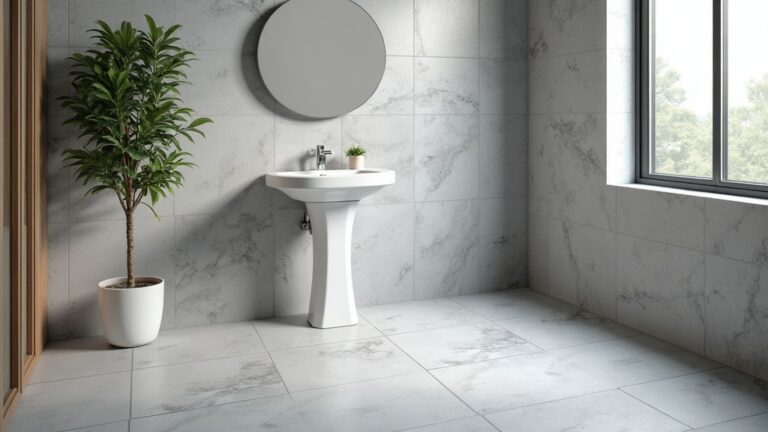
Proper application and curing protocols ensure that the prepared material performs optimally within the tile joints. Using a rubber trowel, press the mixture firmly into the spaces between the ceramic tiles or porcelain tiles. Hold the float at a forty-five-degree angle and move it diagonally across the joints to ensure complete compaction. This technique prevents air pockets and creates a dense, durable fill.
Final Steps in Your Grout Mixing Process
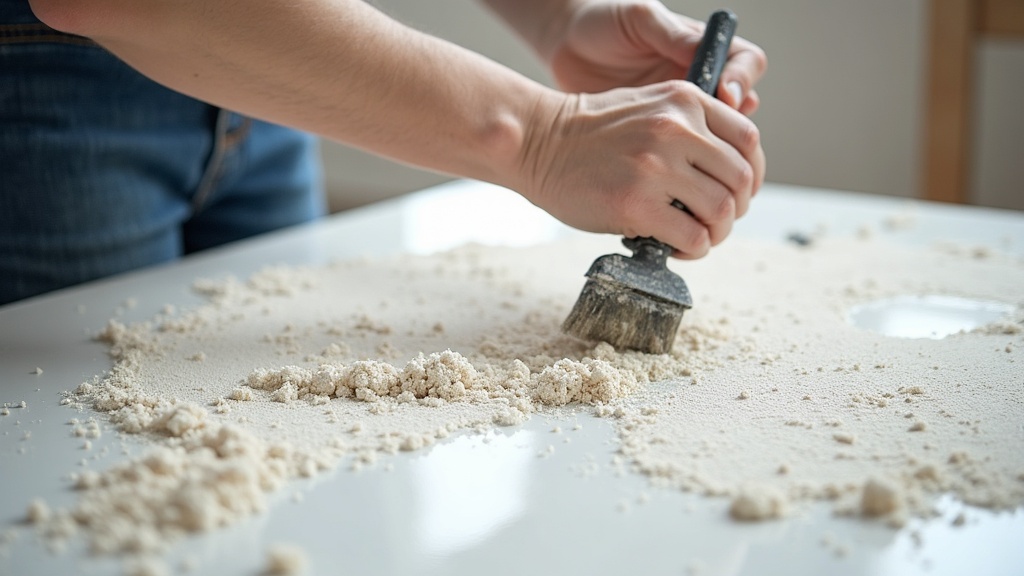
After packing the joints, allow the material to firm up slightly before beginning the cleanup process. Use a damp sponge to wipe away excess residue from the surface of the tiles. Rinse the sponge frequently to avoid smearing haze across the installation. For delicate surfaces like natural stone, a specialized cleaner may be required to prevent etching or staining.
The curing time is just as important as the initial blending. Keep the area free from foot traffic and protect it from rapid temperature changes or direct drafts, which can cause premature drying and cracking. In some cases, lightly misting the surface with water over the first few days helps the cementitious materials cure evenly. Once fully cured, applying a high-quality penetrating sealing product protects the porous joints from moisture and stains. For more detailed maintenance protocols, referencing the sample page documentation offers additional insights into long-term surface care and preservation strategies.
Important Questions About Grout Mixing
How long should I let the mixture slake?
Can I add more water if it gets too thick?
What is the difference between sanded and unsanded options?
How do I clean my tools after finishing?
Comparing Blending Methods
Choosing the right blending method depends on the scale of your project and the specific materials you are using. Each approach offers distinct advantages regarding speed, consistency, and effort. The table below outlines the most common techniques utilized in modern tile installation.
| Method | Best For | Consistency Control |
|---|---|---|
| Hand Mixing | Small repairs and epoxy products | Low; requires significant physical effort to eliminate lumps |
| Drill and Paddle | Standard residential grout mixing projects | High; provides excellent agitation for standard cementitious blends |
| Colloidal Mixer | Large commercial jobs and specialized slurries | Maximum; ensures complete particle dispersion and uniform hydration |
Practical Tips for Success
Mastering the art of blending requires attention to detail and a commitment to consistent practices. Professional installers rely on a few key strategies to ensure every batch performs perfectly, regardless of environmental conditions.
- Always store your dry bags in a climate-controlled environment to prevent moisture from prematurely activating the cementitious powders.
- Measure your ingredients by volume using dedicated, identical containers to guarantee an accurate ratio every single time.
- Work in shaded areas or avoid direct sunlight during application to prevent the surface from drying out faster than the underlying material.
Additionally, keep a spray bottle filled with clean water nearby to lightly mist the joints before application if the ambient temperature is exceptionally high. This prevents the dry tiles from sucking the moisture out of the wet mixture too quickly. By integrating these habits into your workflow, you will consistently achieve professional-grade results and extend the lifespan of your tiled surfaces.
Key Takeaways
Achieving flawless tile joints relies heavily on following a precise grout mixing guide from start to finish. By respecting the correct ratios, allowing adequate slaking time, and utilizing the proper tools, you ensure a durable and visually appealing installation. Whether you are tackling a small bathroom renovation or a large commercial floor, these foundational principles remain the same. For more expert advice on equipment and material handling, explore the extensive resources available on colloidalmixers.com to elevate your next project.
Learn More
- Mixing partial units of grout. MAPEI.
https://cdnmedia.mapei.com/docs/librariesprovider65/line-technical-documentation-documents/19-1736_mixing_partial_units_of_grout-en_lr.pdf?sfvrsn=c8cca2e_24 - How to Mix Grout Perfectly Every Time. Rubi.
https://www.rubi.com/us/blog/how-to-mix-grout/ - How To Mix Grout – DIY At Bunnings. Bunnings.
https://www.youtube.com/watch?v=ub5–rxLrtA - How to Mix Grout Like a Pro: Step-by-Step Guide. MudMixer.
https://mudmixer.com/blogs/news/how-to-mix-grout-like-a-pro
For more about Groutmixing guide, see Groutmixing Guide.