The Ultimate Grout Mixing Guide for Tile Installers
Read our complete grout mixing guide for perfect tile installations. Learn exact ratios, slake times, and expert tips to prevent grout failures and callbacks today.
Table of Contents
- The Science of Powder-to-Water Ratios
- Slake Time Protocols in This Grout Mixing Guide
- Environmental Factors and Pot Life
- Avoiding Common Installation Failures
- Important Questions About the Grout Mixing Guide
- Comparing Grout Types
- Practical Tips for Success
Quick Stats: Grout Mixing

- 3-5 minutes of initial mixing time (MAPEI Corporation, 2024)[1]
- 5 minutes slake time (MAPEI Corporation, 2024)[1]
- 50 percent of grout-related callbacks attributed to mixing and water errors (National Tile Contractors Association (NTCA), 2025)[2]
- 50-80 degrees Fahrenheit recommended water temperature range (Tile Council of North America (TCNA), 2024)[4]
Introduction
Mastering tile installation requires more than just setting the pieces; the final aesthetic and structural integrity depend heavily on the joint filler. This grout mixing guide provides the foundational knowledge needed to achieve professional results every time. Many installers underestimate the chemical processes involved, treating the preparation like a simple mud recipe rather than a precise science. When you follow a structured grout preparation guide, you avoid the pitfalls of weak joints and inconsistent coloring.
We will explore the essential powder-to-water ratios, the critical importance of slaking, and the mechanical action required to activate polymer-modified compounds. Whether you are working with sanded grout for wide joints or unsanded grout for delicate glass tiles, understanding these core principles is vital. Read on to discover how proper technique transforms a basic mixture into a resilient, long-lasting finish that protects your substrate and enhances the overall design.
The Science of Powder-to-Water Ratios
Achieving the correct consistency begins with strict adherence to the manufacturer’s specified liquid measurements. A reliable grout mixing guide always emphasizes that cementitious grout relies on a precise powder-to-water ratio to develop its intended structural properties. For many standard products, manufacturers recommend approximately a 3:1 powder-to-water ratio by weight when mixed as a full unit (MAPEI Corporation, 2024)[1]. When dealing with a typical 25-lb bag of polymer-modified cement grout, this generally translates to roughly 2.4 to 2.8 quarts of clean water (Custom Building Products, 2025)[5].
Deviating from these grout mixing instructions compromises the chemical reaction. Mark Heinlein, Training Director at the National Tile Contractors Association, explains the stakes clearly: “When you’re mixing grout, you’re not just making mud – you’re activating a carefully engineered chemical reaction, and the only way to get consistent performance is to measure your water and mix times accurately every single batch” (National Tile Contractors Association (NTCA), 2025)[2]. Eyeballing the liquid volume leads directly to color variation and weak tile joints. Always consult the technical data sheet before starting any tile installation to ensure your substrate and joint widths align with the chosen product.
Slake Time Protocols in This Grout Mixing Guide
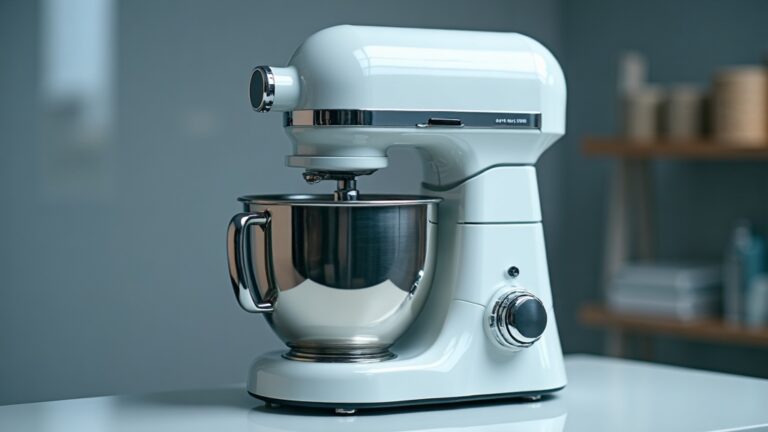
The physical blending process and subsequent resting period are non-negotiable steps for activating chemical additives. According to industry standards, installers should utilize a low-speed mixer and a specialized mixing paddle for 3 to 5 minutes of initial mixing time to properly wet out the powder (MAPEI Corporation, 2024)[1]. Following this initial blend, the mixture must rest. This slake time, typically lasting 5 minutes, allows the polymers and cementitious components to fully hydrate before the final remix (MAPEI Corporation, 2024)[1].
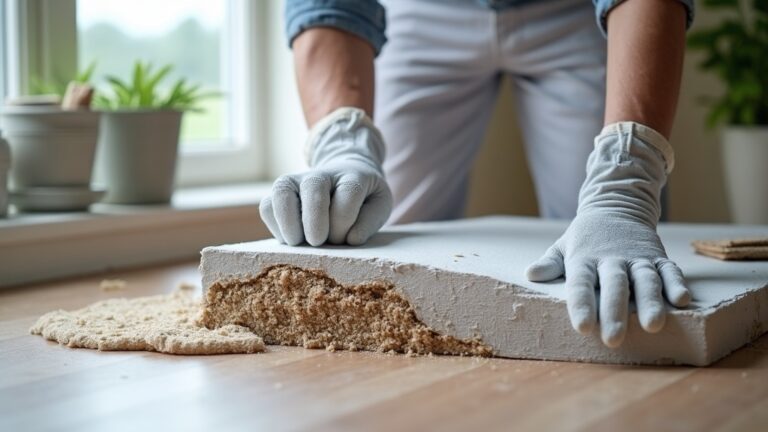
Skipping this rest period prevents the polymers from activating, resulting in a mixture that lacks cohesion. Shawn St. Pierre, Technical Services Manager at LATICRETE International, notes the ideal physical state: “For a typical floor installation, properly mixed grout should hold on the edge of a margin trowel without slumping off, but still be fluid enough to be pushed deep into the joints” (LATICRETE International, 2025)[3]. For those looking to upgrade their equipment, exploring advanced colloidal mixing techniques can significantly improve the uniformity of your batches. A thorough guide to mixing grout will always remind you to remix briefly after the slake period without adding any extra liquid.
Environmental Factors and Pot Life
Ambient conditions and temperature directly dictate the working window and final curing characteristics of cementitious compounds. The temperature of your mixing liquid plays a crucial role in the chemical reaction. Industry experts recommend keeping the water between 50 and 80 degrees Fahrenheit to maintain predictable setting and curing characteristics (Tile Council of North America (TCNA), 2024)[4]. Using water outside this range can drastically alter the pot life, causing the mixture to flash-set or remain workable for far too long.
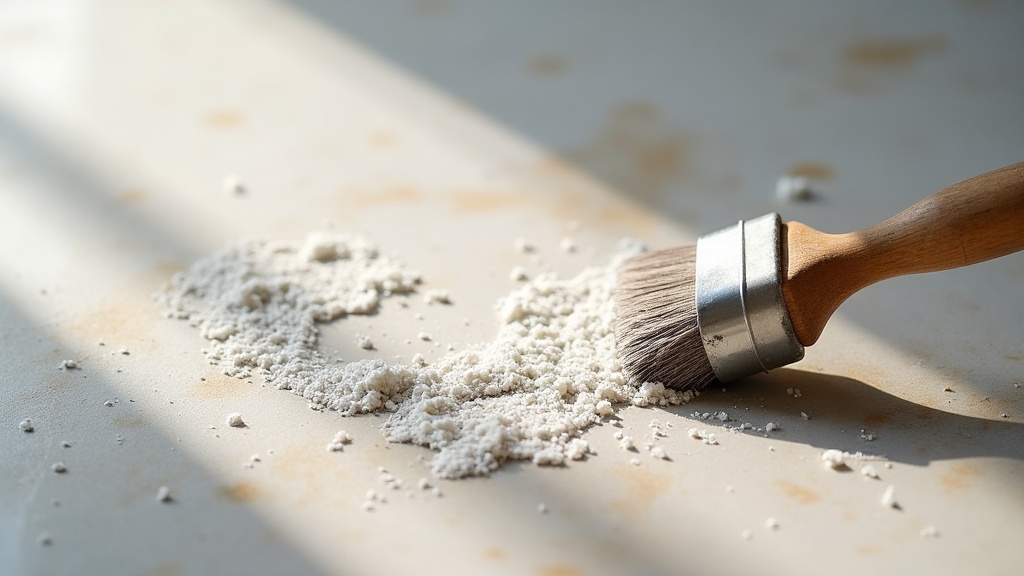
Once properly prepared, a typical polymer-modified cement grout offers a pot life of up to 45 minutes at 70°F (LATICRETE International, 2025)[3]. During this window, the material must achieve a minimum 3000 psi compressive strength at 28 days to meet ANSI A118.6 standards for sanded grout (Tile Council of North America (TCNA), 2024)[4]. Safety is also a critical component of any grout mixing tutorial. Dry powder generates respirable crystalline silica dust, and the Occupational Safety and Health Administration enforces strict permissible exposure limits, which you can review in the Occupational Safety and Health Administration silica standards (Occupational Safety and Health Administration (OSHA), 2024)[6]. Always wear appropriate respiratory protection when handling dry materials.
Avoiding Common Installation Failures
Most jobsite defects stem from procedural shortcuts rather than defective materials. When analyzing why installations fail, industry veterans point directly to the preparation phase. James Woelfel, Past President of the NTCA, states: “Most grout failures we see on jobsites are not product failures – they are mixing and cleaning failures, where the installer added too much water or rushed the slake time” (National Tile Contractors Association (NTCA), 2025)[2]. In fact, improper water measurement and mixing account for more than 50 percent of grout-related callbacks discussed with contractors (National Tile Contractors Association (NTCA), 2025)[2].
Re-tempering, or adding water to a mixture that has begun to stiffen, breaks the chemical bonds and destroys the compressive strength. This shortcut is a primary cause of efflorescence, cracking, and powdering in tile joints. To prevent these issues, discard any material that has exceeded its pot life. Furthermore, maintaining your tools is just as important as measuring your ingredients. Reviewing equipment maintenance and cleaning protocols ensures that your mixing paddles and buckets remain free of dried residue that could contaminate fresh batches. Following a strict grout mixing guide eliminates these variables, ensuring a durable and aesthetically pleasing finish.
Important Questions About the Grout Mixing Guide
Can I add more water if the mixture becomes too stiff?
Why is slaking necessary for polymer-modified products?
What is the ideal temperature for the mixing liquid?
How long can I use the mixture before it expires?
Comparing Grout Types
Selecting the right material is just as important as following a precise grout mixing guide. Different formulations offer unique benefits depending on the specific requirements of your tile installation. Below is a comparison of the three most common joint fillers used in residential and commercial projects.
| Grout Type | Mixing Requirement | Best Application |
|---|---|---|
| Traditional Cementitious | Requires precise water measurement and strict slake times. | Standard residential floors and basic wall installations. |
| Polymer-Modified | Needs low-speed mixing and full polymer hydration during slaking. | High-traffic areas, wet rooms, and commercial spaces. |
| Pre-mixed Acrylic/Urethane | No mixing required; ready to use straight from the bucket. | Small residential jobs, backsplashes, and quick repairs. |
Practical Tips for Success
Achieving flawless results requires attention to detail and consistent jobsite habits. Implementing a few strategic practices can drastically reduce your callback rate and improve the longevity of your tile work.
- Weigh your ingredients: Use a digital scale to measure both the dry powder and the mixing liquid by weight rather than relying on volume measurements, which can vary based on how settled the powder is in the bag.
- Control your environment: Avoid installing tile joints in direct sunlight or near active HVAC vents, as rapid surface drying can cause shrinkage cracks before the core of the material has fully cured.
- Clean as you go: Wash your tools immediately after each batch. Dried residue from previous mixes can introduce foreign particles and alter the chemical balance of your next batch.
Before You Go
Mastering the preparation phase is the single most effective way to ensure a lasting, beautiful tile installation. By adhering to the scientific principles outlined in this grout mixing guide, you eliminate the guesswork and protect your work from premature failure. Remember that precision in measuring, patience during the slake period, and respect for environmental factors will always yield superior results. For more in-depth tutorials and equipment reviews, continue exploring the resources available on colloidalmixers.com to elevate your craftsmanship on every jobsite.
Learn More
- Mixing Partial Units of Grout – Best Practices. MAPEI Corporation.
https://cdnmedia.mapei.com/docs/librariesprovider10/line-technical-documentation-documents/mixing-partial-units-of-grout.pdf - NTCA Roundtable Live: Grout Problems and How To Avoid Them. National Tile Contractors Association (NTCA).
https://www.tileletter.com/ntca-roundtable-live-grout-problems-and-how-to-avoid-them - Getting Grout Right: Mixing, Slaking and Application. LATICRETE International.
https://www.laticrete.com/en/tips-and-tricks/getting-grout-right-mixing-slaking-and-application - ANSI Standards for Ceramic Tile Installations. Tile Council of North America (TCNA).
https://www.tcnatile.com/faqs/71-ansi-standards-for-ceramic-tile-installations.html - Polyblend Plus Sanded Grout. Custom Building Products.
https://www.custombuildingproducts.com/products/grout/cement-grout/polyblend-plus-sanded-grout - Silica Crystalline in Construction. Occupational Safety and Health Administration (OSHA).
https://www.osha.gov/silica-crystalline/construction
For more about Groutmixing guide, see Groutmixing Guide.